Use Case
I've created my application it has a very simple user interface consisting of three rows in a Grid. The three rows have titles; Settings, Notifications & Bluetooth - these are generic headers.
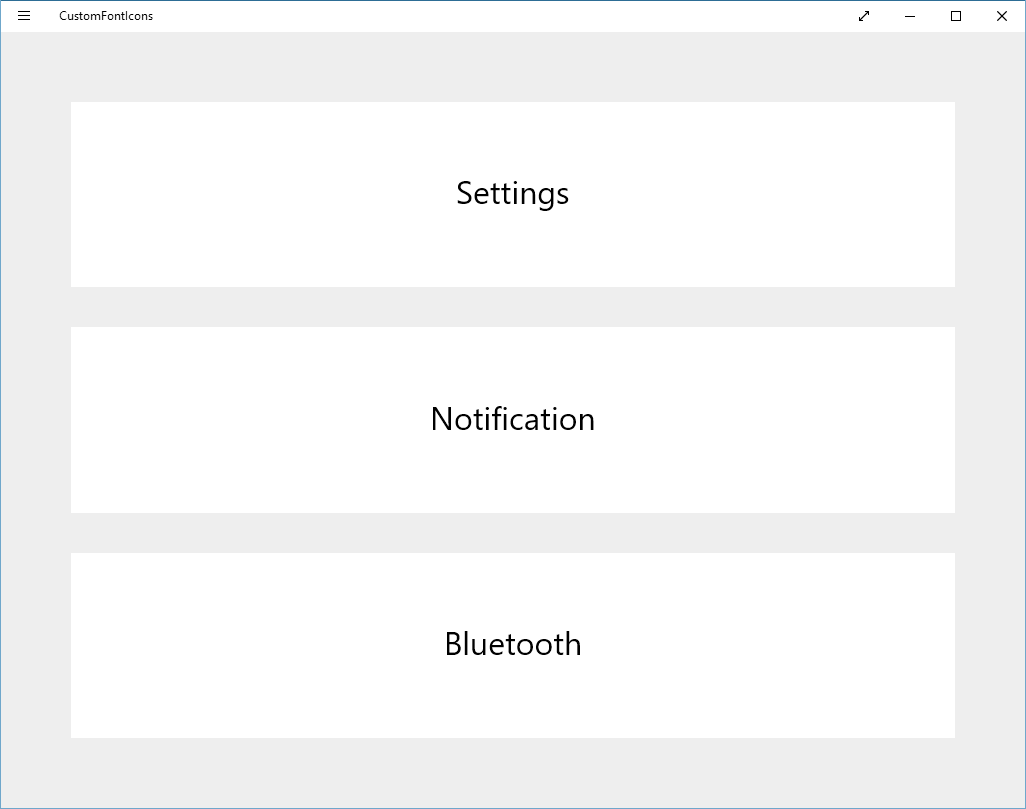
What I would like to do is improve the user interface further - it's pretty bland! I want to add the relevant icon for the header on the left of the text.
Implementation
I'm a big fan of Google's Material Design for application design - in most my articles (and website) you'll probably see some inheritance from Material Design. So I will be downloading the font from Material Design Iconic Font - this project has been created by zavoloklom. You will notice on the front page of the site there is a download link, this downloads the full css and other font files to use on a website - I will be using this on an application. I only need the True Type Font (.ttf) file so I can add this file to my project.
Since the source is hosted on Github I can easily navigate to the ttf file and download it directly from there. For reference you can use the following link https://github.com/zavoloklom/material-design-iconic-font/blob/master/dist/font/Material-Design-Iconic-Font.ttf and clicking the Raw button will initiate a download - saving the file as Material.ttf Once I have imported the font file to my Visual Studio project (Imported in to /Assets/Fonts) I can create a reference to my App resources.
    <Application.Resources>
        <FontFamily x:Key="MaterialFont">/Assets/Fonts/Material.ttf#Material-Design-Iconic-Font</FontFamily>
    </Application.Resources>
You can see I have referenced the path to my Material.ttf file and also added a fragment with the actual name of the font. Now I'm ready to include the icon to my three headers. Since I am not using the CSS file in my application I can't go ahead and enter the name of the icon to display directly on my app, for the we have the cheatsheet - http://zavoloklom.github.io/material-design-iconic-font/cheatsheet.html
The cheatsheet contains codes that we can use in our TextBlock controls. Going to the Settings header I'm going to use the code  which will display a cog icon. So the modified Grid for the Settings header will look like
<Grid Grid.Row="0" Background="#FFFFFF" Margin="20">
<TextBlock FontFamily="{StaticResource MaterialFont}" Text=" Settings" Foreground="#E91E63" FontSize="32" VerticalAlignment="Center" HorizontalAlignment="Center" Margin="0,0,10,0" />
</Grid>
I have removed my initial TextBlock containing the Settings header and added another referencing our MaterialFont with the text as our Cog code and the word "Settings" after. I have also changed the foreground colours instead of using the boring black. The fontsize changes the width/height of the icon.
A FontSize of 32 would create a 32x32 pixel icon. After changing the other two Headers the updated application looks a lot better than what I had initially started off with.
Download
You can download the demo application used in this article from my Github repository. This application is provided as is with no support.
